Cut a piece of Whisper White paper to be 10 X 7 and score at 5 (makes a 5x7 card size)
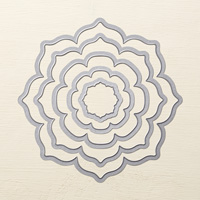
Fold in half, put the largest Flower Frame Framelit and place as shown on the card stock. Make sure you leave leave some space at the top that won't be cut so it will open and be a card.
This is what it will look like. Don't worry about the flat top..we will cover that with the DSP Paper.
That that same large Flower Frame Framelit and use it to cut whatever DSP paper you choose.
Here is the cut out flower. Using your snail add that to the card base and it will cover the flat top.
I am using some of the colors from the DSP Paper with the Daydream Medallion stamp set. Stamp them on Whisper White paper.
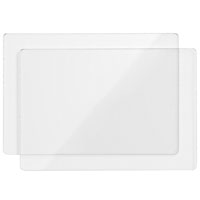
Using your Big Shot and the Flower Frame Framelits cut the pieces out. I am also using my magnetic platform which is a must if your using framelits! It holds them in place so they don't shift when you put the other plate on top.
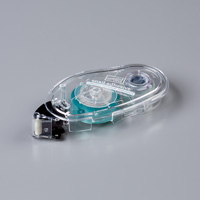
Using you snail adhesive attach the largest stamp medallion to the DSP Paper.
Using Dementionals on the rest...to pop them up a little to give some dimension.
Continue to layer the pieces...
Add a little BLING (must have that bling!)
Then on the inside I used the 2 of the stamps from the Daydream Medallion stamp set and the sentiment is from the Petite Pairs stamp set(a must have! It has 18 different greetings)
I hope you enjoyed this tutorial. Let me know in the comments below:)
Have a wonderful day and happy stamping!!
<











No comments:
Post a Comment